
Announcing my newest Pinterest-inspired project!

I pinned this and this a few months ago and have been itching to give it a try! I didn’t want to use the hypertufa that project called for, so I chose to use plain cement and I want to see if I can get moss to grow on it eventually! I found (at the ReStore for $2.82) a glass light globe that was perfect! It has a nice pattern on the inside; I thought it would be great for this project!

I purchased three 10# bags of Quikrete ($5.68), mixed it up, and used every bit of it! I filled up the glass globe and jiggled it around until the bubbles were done coming to the surface. The goal is to displace all the air so there won’t be gaps in the cement.

Be assured, it is very heavy at this point, about 30#! So it’s done now, been jiggled and shook and now I must wait!

I did have a tiny bit of concrete left, so I wanted to make something else…like this. I grabbed a plastic pot and a smaller yogurt container, filled the pot and pushed the yogurt container down to its rim into the concrete. I even added some marbles to the top edge, they immediately sunk down where I could not see them, so we’ll see how that turns out!

About a day and a half later, I started breaking the glass off the cement ball. I put the cement globe in an old Rubbermaid tote and just started chipping away with a hammer, gently. It was messy and dangerous too!
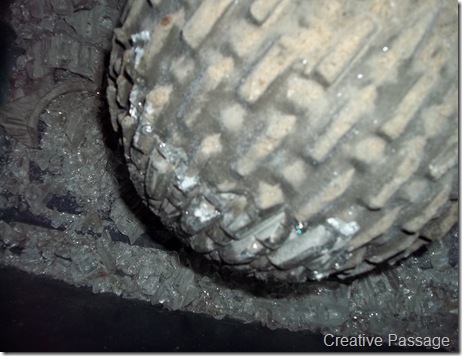
Safety goggles are a must here. I did this in the middle of the night when I couldn’t sleep, had to sweep and wash the deck afterwards because there were pieces of glass everywhere.
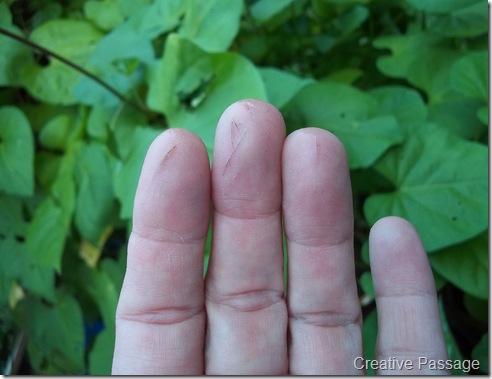
When you break the glass off with the hammer, I would strongly suggest wearing some type of work gloves, because I have a thousand cuts on my fingertips! Ouch!

You have to keep at it until all the glass is off. I think one of the Pinterest cement ball makers used no stick cooking spray on the inside to keep the cement from sticking to the glass. I didn’t use the spray and didn’t have any trouble with the glass coming off.
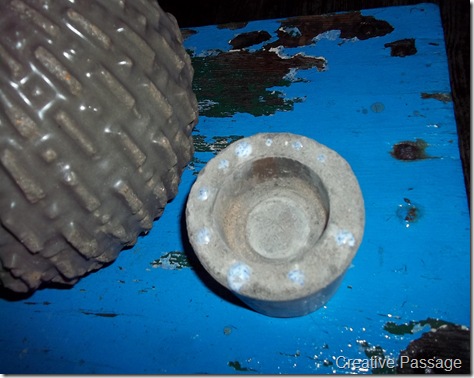
So this is what it looked like after I was done chipping the glass off. I didn’t like the slick, shiny look. And here is the little candle holder too…more on that later!

This is what it looked like the next evening. Much better!

My son carried this chunk all over the yard so I could photograph it in just the perfect spot! He was thrilled of course!

The color is so much better, but you can see it is still very dark in the middle of the ball.

I am loving it!

This is the third day…loving it even more! I think it looks sort of like a sea urchin!

Looks perfect snuggled in with the flowers…

Definitely a winning project!!

I am linking to these great parties!


